Hello, artenauta! Today we would like to continue in the line of drawing, teaching you some basic notions that you should know for your first creations. If, in previous posts, we told you everything you need to know to start a new
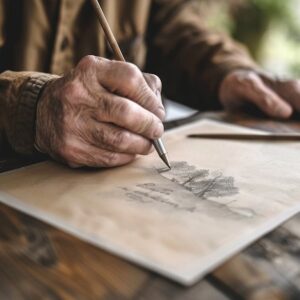
experimenting with charcoal
Today we want to give you a series of keys that will help you learn how to draw with charcoal.
Before you start working with charcoal, remember:
- Charcoal does not contain binders or fillers, so its fixation to the support will be much less than with other more oily pigments (such as oil or acrylic, for example).
- This is a rather delicate material, so we must control the pressure when drawing to avoid splitting the bars.
- We must select papers with enough texture and open fibers, to facilitate the adhesion of the charcoal to them, avoiding, in any case, satin surfaces.
- Once you have finished your work, we recommend that you use a fixative to prevent the pigment from altering with the passage of time, rubbing, etc. Do not forget to make any changes or corrections before using the fixative.
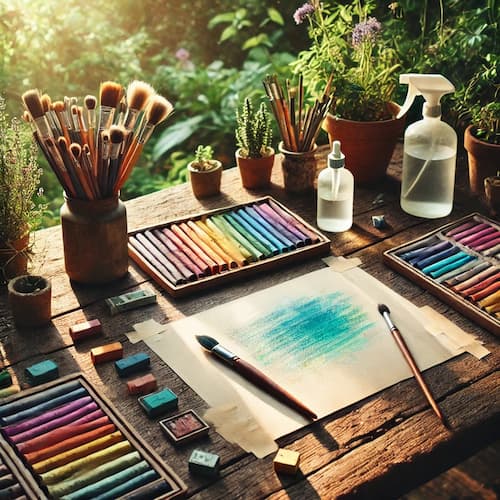
Other materials to support charcoal work:
- Paper: as mentioned above, with a lot of texture and open fibers.
- Cloth (in light colors) or kitchen paper: to reduce the intensity of the drawing, blur and erase (in the case of paper, the effect is less, recommending it only for small strokes).
- Diffuser: to spread the charcoal powder and create different effects.
- Sandpaper for smudger: to clean it and avoid dragging charcoal residues that could have been deposited on the tip of the smudger.
- Fixative: to prevent the pigment from altering once the work is finished.
- Charcoal erasers: they are moldable. They help us to collect the charcoal dust (taking it with them). They add grease and break the fibers of the paper, so the more we use them, the more difficult it will be to draw on that area.
Drawing with charcoal step by step:
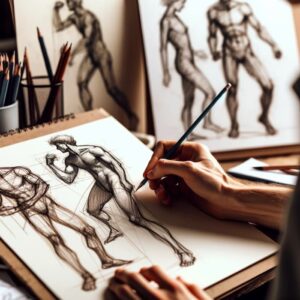
Step 1: Choose the design to be represented. If you are just starting to get into charcoal, we recommend that you opt for a simple drawing, with few shadows and glows, to become more complex as you gain experience.

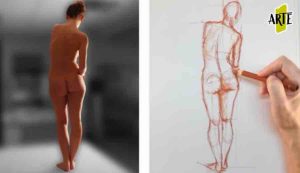
Step 2: We mark the contours and shadows, gently (in case we need to make any correction).

Step 3: We fit the bases of the chiaroscuro, incising with the charcoal in those areas that are darker, from the most intense to the lightest.

Step 4: Diffuse with the help of a cloth, to spread the charcoal in a smooth way.

Step 5: We take the blender (previously cleaned on the sandpaper) to clean and degrade, making the lines disappear, always working from the lightest to the darkest.

Step 6: We go over with the charcoal those areas that should be more marked and take the opportunity to make corrections, also using the blur and the cloth.

Step 7: We use the eraser to mark the area of maximum light (the part of the drawing that is completely white), as well as to remove glitter. Very carefully, without exerting too much pressure.

Step 8: We have our drawing! Now all that remains is to use fixative to prevent the charcoal powder from moving.

Once you have completed this sample exercise, we recommend that you continue practicing, increasing the complexity of your work as you become more fluent.
If you want to continue learning and deepening in the drawing, knowing everything you need to know to develop your designs in pencil or charcoal, we recommend you to visit our Painting Course.