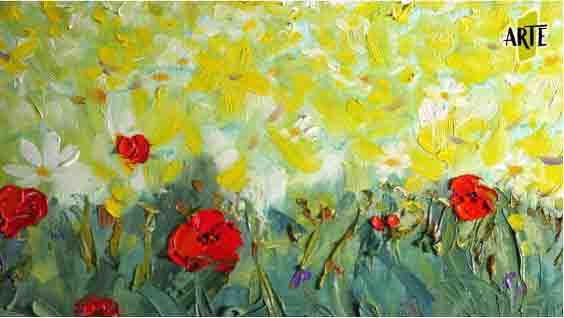
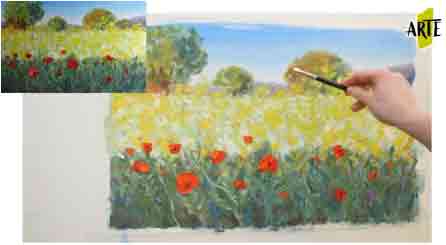
Hello, artenauta! To continue deepening in the technique of oil painting, we continue to provide you with some tips and tricks that will help you achieve the best results in your works. Today, focusing on botanical elements, we are going to show you how to paint small flowers in oil in 6 steps, using the example of a field of flowers. Here we go!
Aspects to take into account before starting:
- Proximity of the element to be painted: the closer the flower is, the more detail and sharpness we should represent it, as opposed to if it is far away from our point of view. The farther away the image is, the more broken the tones will be, the more intense the colors will be as we get closer to it.
- Realism: in addition to proximity, we must take into account whether our idea is to represent something realistic or more figurative, in order to reflect a greater or lesser level of detail.
- As always, before starting to paint, we must observe very well the characteristics of the floral species we have chosen, so that the result adapts as much as possible to the real image.
- When representing a set of flowers, we must play with the different positions and turns, as well as reflect the closeness or remoteness of each element, through the application of different tones, sizes and level of detail.
- When working with oil, we must remember that we are going to apply the “fat over lean”, so the first layers will be more diluted in turpentine, to increase the level of pigment concentration as we progress. We will leave the details for the end.
How to paint small flowers step by step
As an example, to explain how to paint a field of flowers step by step. Let’s get started!
Step 1: Make the lace
We make a basic lace, distributing the space in three strips (which in the image we have chosen are quite well delimited).
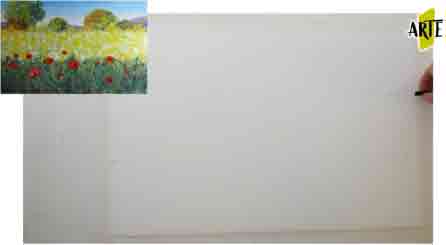
Step 2: Apply the first coat of paint
We apply the first coat, with the paint quite diluted, using a palette knife.
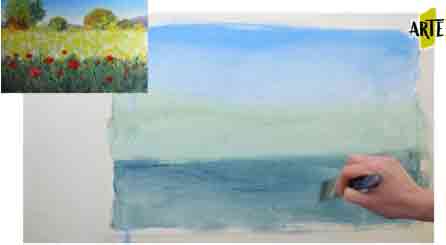
Step 3: Make the first brush strokes
We deposit less diluted paint, with a fairly stiff bristle brush and a cat’s tongue brush, reflecting the first brushstrokes that will give rise to the various elements present in our work.
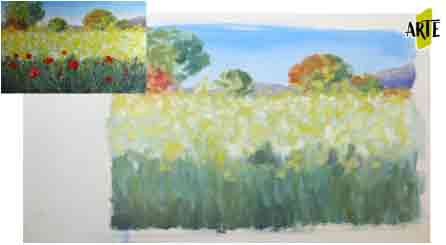
Step 4: Focus on the foreground
We focus on the bottom, showing the differences in the height and size of each stem and flower. To create volume and definition on the stems, use a spatula and a fine brush.
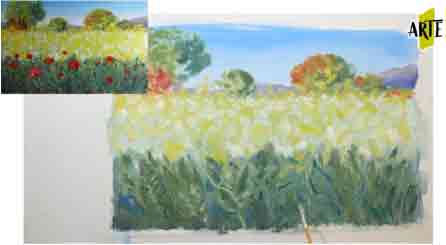
Step 5: Draw the petals
With the help of a spatula, we deposit different bright red spots, which will give rise to the poppies, working them petal by petal. It is very important to make them in different sizes and heights.
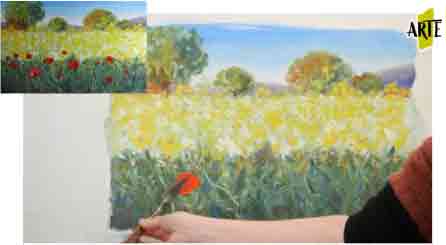
Step 6: Final details
We put the finishing touches and review to mark small details.
Now, let’s practice! Remember that practice makes perfect. We recommend you to read also how to paint an oil painting and howto paint easy flowers step by step.
If you want to learn, in depth, everything you need to know to master oil painting, as well as to make this other botanical elements, natural landscapes, seascapes … visit our Painting Course.

