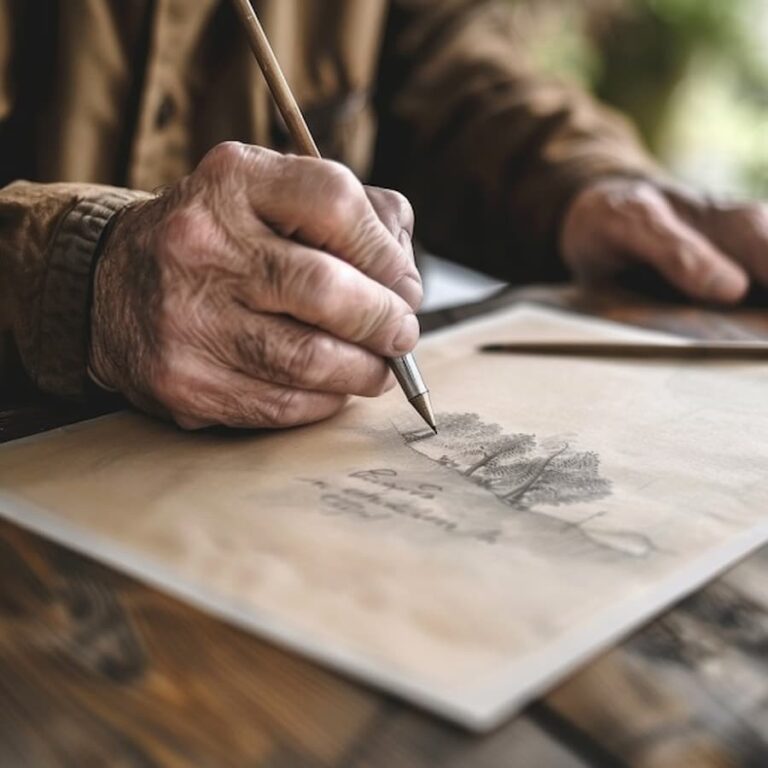
Hello, Artenauta! Today we bring you a simple but very successful proposal: we are going to show you how to paint an oil sunset in a few easy steps.
The first thing we need to understand is what happens to light and color as the sun begins to set on the horizon. The illumination will not be the same when the sun is overhead as when it begins to set in the late afternoon.

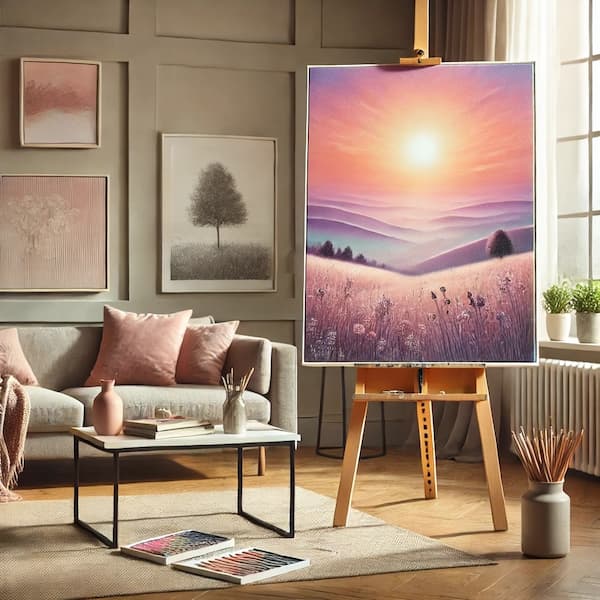
How to paint a sunset in 6 steps?
In the evening, the illumination becomes reddish or orange, and this is most evident just as the sun is about to disappear.
The sky will take on a series of varied shades and tones, ranging from light blue to dark blue, passing through greenish, yellow, orange, reddish, pink and purple. Depending on the specific moment and the cloudiness that we find, the mixture of these tones will result in some combinations or others.
There are many ways to work with skies in painting, with more diffuse or clipped spots, more saturated or realistic tones, or soft or gestural brushstrokes. But what is fundamental is to study these dominant tones and their order in the skies.

When we find cloud cover, it usually reflects the light coming from below (where the sun sets) and this introduces variations in the order of the color bands.
But if the sky appears completely clear, the logical order from top to bottom as the sun sets will remain within the usual spectrum: dark blues (top), purples, violets, pinks, reds, oranges and yellows (bottom). To paint a simple sunset we will follow these steps:
Step 1 - Apply the color stripes of the sky in order

Apply the paint diluted with medium on the colored stripes in the same order as in the image. The colors must be vivid, so clean the brush well before applying each of them, without mixing them yet. The yellow stripe should be higher than the others, so as not to cover it when painting the floor.
Step 2 - Melt these color stripes in gradients

Now, with a clean, dry and soft brush, we will gradually blend the tones together to create gradients. It is important to clean the brush well at each change of tone, so as not to dirty the color.
Step 3 - Set the horizon line and paint the ground

Once the sky has been worked on, we will apply the layers that will represent the terrain. It is better to use optical blacks as we showed you in this previous post, or even if we want to generate the sensation of depth that the changes in the ground level give us, we can work with more broken and clear tones in the background.
Step 4 - Outlining the silhouettes of the elements and the sun's glare

Once the terrain is finished, we can work the sun’s glow hiding behind with yellows mixed with white: blending the paint more inside, and blurring them with the yellow of the sky background. In addition, we will start cutting out the silhouette of the elements we want to introduce. In our case, we are going to work with a tree. But we can paint any silhouette we want.
Step 5 - Working the silhouettes

In this step, we will carefully detail the profiles of our elements. Although oil painting allows for corrections, if we do not touch the background, the result will be much cleaner. If we do not dare to paint without the reference of the drawing, there is no problem to make a previous simple lace that can be glimpsed behind the sky layer.
It is important that the paint be fairly smooth and covering so that it does not mix with the sky layer. Another option is to let the bottom dry for a couple of days to avoid this.
Step 6 - Lighting shading and detailing

For this step it is quite convenient to let the paint dry a little, but if we dare, we can add the lighting details directly. If we think of the sun as emitting light from the horizon.
We will have to reflect some strong yellowish lights in the areas where it would affect. In addition, in this case we can shade some areas of twilight in the treetop and on the ground with slightly lighter tones than our optical black, to generate a sense of volume.
As you can see, the result is striking and it is a very easy way to paint a sunset. You can insert anything you can think of in silhouette form to create any image you want!
But, if what you want is to learn the secrets of light and color, in our Painting and Drawing Course you can enjoy the path to become an artist in an entertaining way and at your own pace.
Join our Artenautas community!
Have this information in my email!
Receive this information in your email by downloading this free resource.