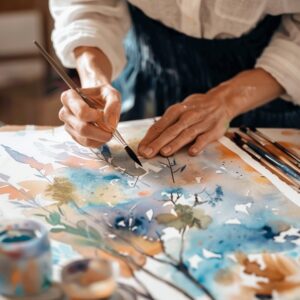
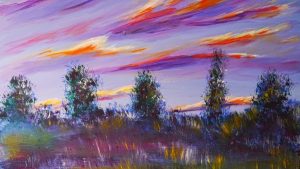
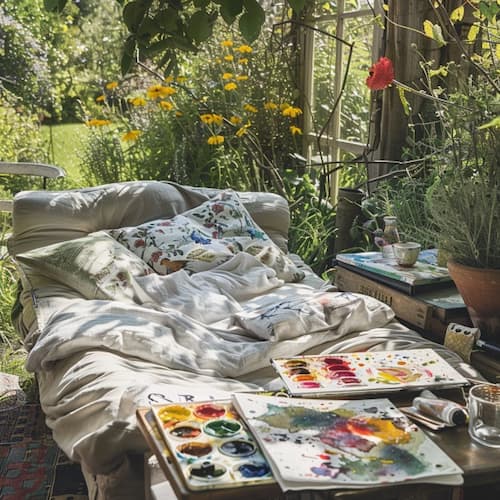
Hello, Artenauta! Today we are going to show you the steps to learn how to paint with watercolor a landscape with vegetation like this one we bring you.
As you know, working with watercolor requires a good previous planning to attack each of its elements, depending on the effects we want to achieve in our landscape.
It is not the same to try to represent what is far away than what is in the foreground; if we want to achieve a sensation of depth and an atmosphere that accompanies the scene, we will have to use watercolor in different ways and apply different techniques to achieve it.
As we have repeated many times: what is far away is perceived with light tones, with diffuse edges, with very watery brushstrokes. On the contrary, what is close is represented with sharp and well trimmed edges, with darker and more vivid tones, with thicker paint.
So we will have to think well about the phases of our work, and which will be the first elements we will work on and which will be the last.
It is best to work from the most watery to the thickest, so we will start with what is in the background and the skies and waters, which also require subtle work with the very watery watercolor.
STEP 1 – WET-ON-WET WORK
First of all, as it should be customary, we will prepare our shades in the color palette, so we will have them ready to work and avoid the paper drying out while we prepare them and spoiling our wet-on-wet work.
We will start by wetting our 100% cotton watercolor paper with a large amount of water and a soft hake brush. Remember that we have two entries dedicated to watercolor
watercolor brushes.
We will try to apply the water homogeneously on the surface, without forming puddles, and we will wait the necessary time so that the water evaporates and the surface looks shiny but the water does not move when we tilt our board. At that moment we will begin to work quite quickly, because the water dries and the effect of the paint begins to change when it evaporates.
We will paint first the skies and the ground, with very light tones and quite watery. Then, we will work with a sharp-pointed synthetic brush the vegetation in the background, with small touches with the tip and in different directions with a short brushstroke.
We will try to be quite fast and take advantage of all the time that the paper is wet. As soon as we notice that the paint does not expand as it did at the beginning and remains trimmed, we will have to stop.
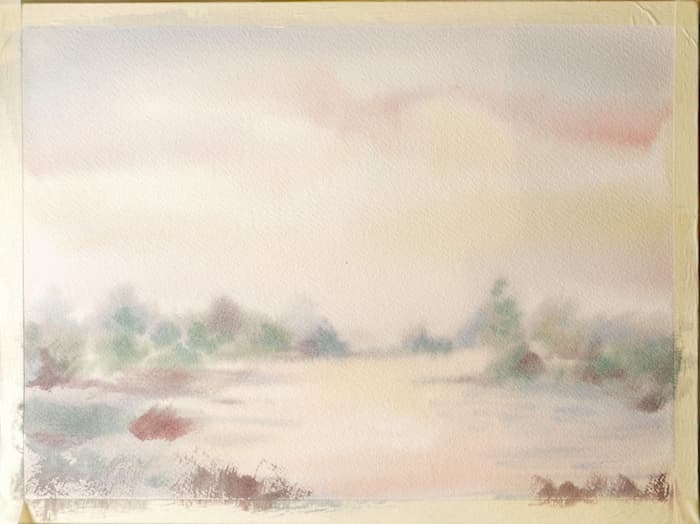
STEP 2 – WORKING THE SHORT VEGETATION
Once everything painted in the previous phase has dried very well, and never before, we will begin the following layers of wet-on-dry paint. We can accelerate if we want the drying with a hair dryer, but we will have to be careful not to move the paint with the air.
In this phase we will dedicate ourselves to the short vegetation, with a synthetic brush, tilting it and painting the base of the ground vegetation, with short brushstrokes, in horizontal, diagonal and vertical directions, in a heterogeneous and varied way.
When working on dry, we will be able to notice how the brushstrokes are better cut and remain similar to the moment of application, without great variations, except in the intensity of the color when drying.
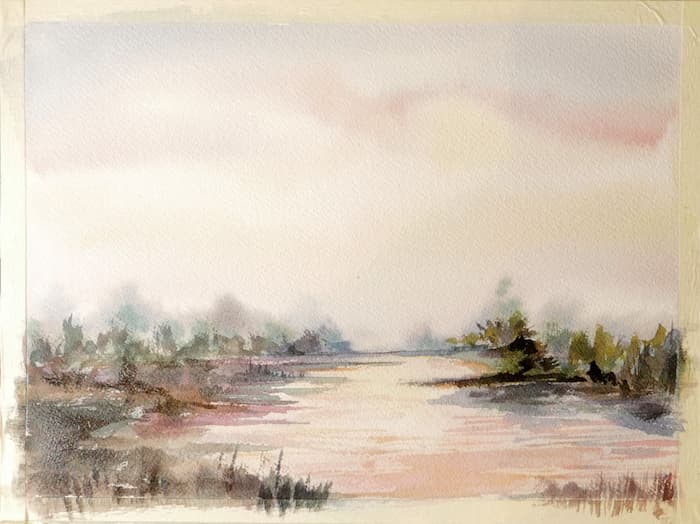
STEP 3 – WORKING THE VERTICAL VEGETATION
In the next phase, and as the previous one dries, we can start working on the silhouettes of the palm trees with a rigger brush or a synthetic brush with a fine and sharp tip. The closer palm trees will be painted with more opaque and darker tones and the distant ones with more transparent, broken and clear tones.
If we want the silhouettes to work well, the paper must be perfectly dry before applying the paint.
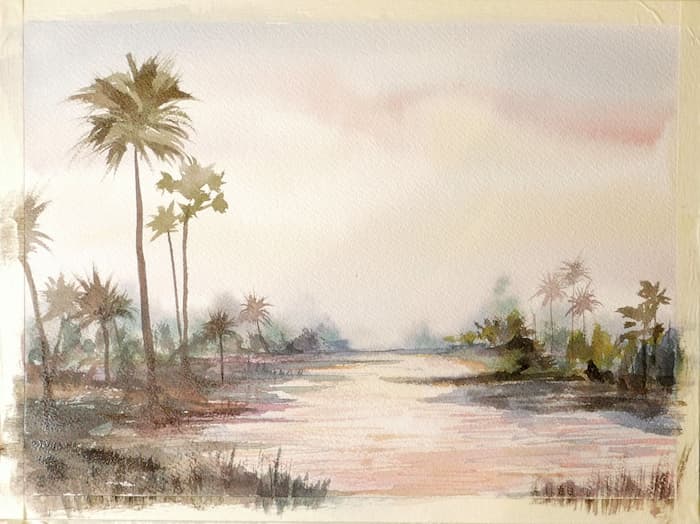
STEP 4 – REFINING DETAILS AND ADJUSTING CONTRASTS
This will be the moment to apply the last details and nuances and darken those areas that the image requires, to create greater contrast and definition in the work. We will also be able to recover some lost lights with the brush or splash some small drops at random, to create atmosphere. Unseal and… done!
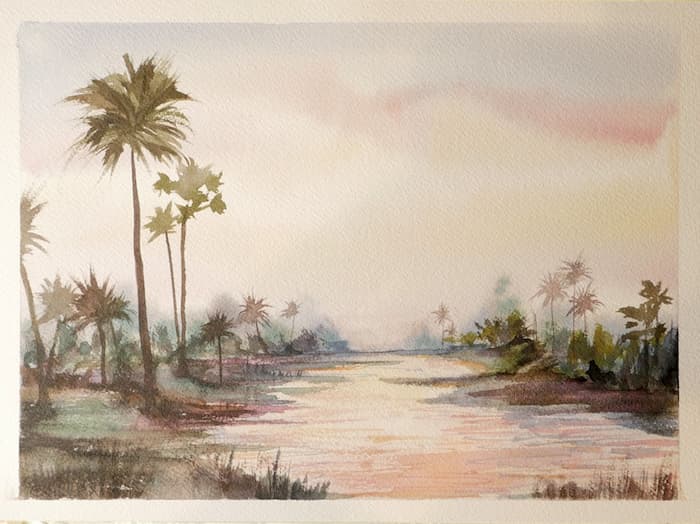
Watercolor is a type of painting that, being water-based, is very unpredictable. Therefore, if we want to obtain good results with it, it is essential to know some keys about its use before approaching it.
For the same reason, it is a very fun type of painting to practice and helps us learn to concentrate and forget about the world around us.
In the
specialized watercolor workshops and courses
ArteEscuela teaches you everything you need to know to start painting from scratch and end up working with watercolors like a professional.
Join our Artenautas community!


