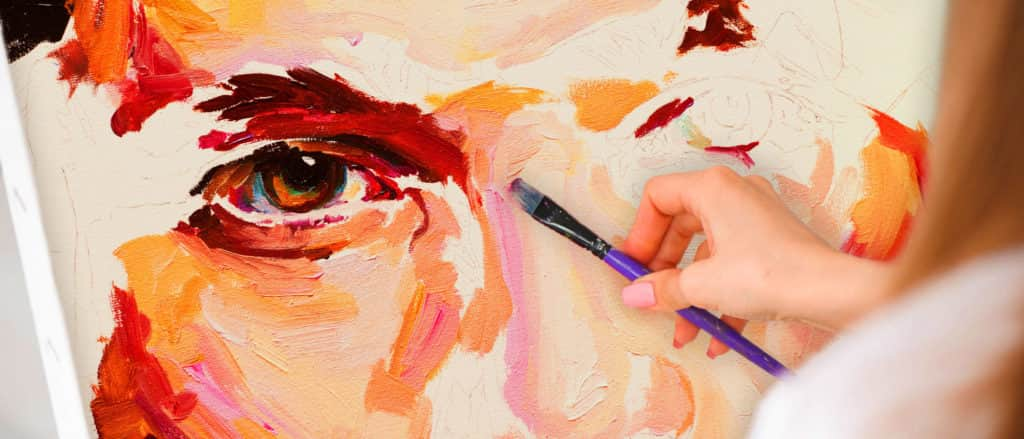

Hello, Artenauta! For many people, being able to draw portraits is what motivates them to become artists; however, being able to draw realistic hands, feet and eyes can be challenging. That’s why we have decided to teach you how to make eye drawings step by step; you will see that it is not as difficult as it seems.
At the end of this post we propose a series of exercises, ordered from lower to higher level of difficulty, in which we explain you how to draw step by step.
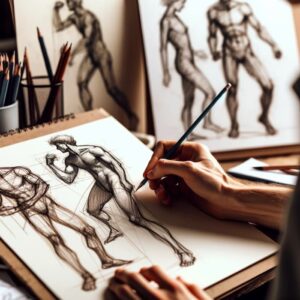
If you want to learn how to draw every part of the face like a professional, don’t miss our
realistic portrait workshop for beginners!
How to draw eyes step by step?
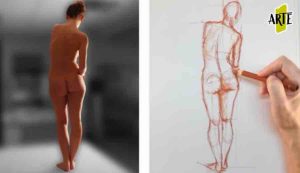
If you have read our other articles or know our teaching method, you will know that the first thing you must do before drawing is to study the anatomy of the object you will work with, in this case the face of a person, specifically the eyes.
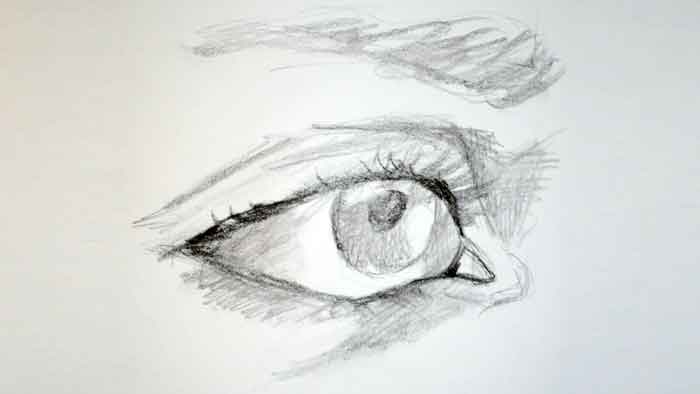
The eye could be summarized in two lines, a pronounced curved line that would be the upper part and a slightly less curved line that would be the lower part, forming what could resemble a rugby ball. But this approach is very simplistic, you have to realize that there are many other lines and key points to represent in order to achieve realistic eye drawings, for example, the tear troughs.
Key parts to represent when making eye drawings
When you draw an eye you must represent the iris with its shines, spots and lines. Remember that it is very difficult to find a natural eye with the iris completely visible, there will always be a part that hides behind the eyelids.
The pupil more or less dilated, that is, drawing it more or less large, will depend on what you want to communicate with that look.
The tear trough. We cannot forget about it and it must be represented with some humidity, this can be achieved with lights and shadows.
The eyelashes: the line that is usually darkened, their length, their lushness…
And you must be able to render the eyelid line, especially the lower one. One of the most common mistakes beginner artists make is not doing this eyelid and because of this the look they get is rare. Now, taking each part into account, let’s start the step by step drawing of an eye. It is important for you to know that you can start with the iris or the upper eyelid; however, we prefer to start with the shape of the eye.
Step 1: Draw the shape of the eye
Draw a horizontal axis, but not straight, but perpendicular. Remember that it should not look like a rugby ball, make rather straight lines. The upper part can be divided into 3 sections and the lower part into 2. Then soften and make the strokes more curved.


Step 2: Draw the iris and pupil
As mentioned above, the iris is not drawn at all. You can make a semicircle directly or make a complete circle from which the top, bottom or sides will disappear as the case may be. In this step by step, we will cut the upper part; then the base of the iris must touch that lateral axis you drew previously.
In summary, for the iris, make a circle cut out and centered and inside it draw a smaller circle, also centered; this small circle will be the pupil. Fill it in completely by squeezing the pencil.
On the iris, draw a rectangle, but make it slightly curved (which will be the glow), and make small stripes (respecting the glow) from the edge of the iris to the pupil.


Step 3: Draw the eyelids and the tear trough.
The first thing you should do is draw the tear trough, which is like a “beak” at the edge of the eye. From this, you will draw the mobile (upper) eyelid. In the area of the ends, glue it to the eye, and in the central area, draw it a little wider, that is to say, not quite parallel.
The lower eyelid, yes it is quite parallel to the lash line. Draw a parallel line above the bottom line you have already drawn.
At this point, you can start making shadows, to generate volume and depth, eye bags… That is, add a little more detail.


Step 4: Draw the eyebrows
Eyebrows can come in many different shapes. In this case we will show you a thin eyebrow, which typically resembles a woman’s eyebrow.
To do this, you must think that it will come out of the nose. There should be a space between the mobile eyelid and the eyebrow and you can draw a diagonal line from the corner of the eye to get an idea of where the eyebrow will end. Its highest point or curvature may be between the pupil and the iris on the right side.
Once you have the base, you can make a very delicate stroke to know the width that you will give to the eyebrow and then you only have to make lines that will be the hairs.


Step 5: Draw the eyelashes
To know the direction of the eyelashes, follow the center of the eye: on the right side the curve is to the right and on the left side the curve is to the left.
The ones in the center, you can draw them as a kind of “V” that are of medium size. As you get closer to the corner of the eye, the lashes will increase in size and as you get closer to the nose they will be smaller and farther apart.
At the corners of the eyes, press the pencil more on the lash line and you can also give shadows on the sclera (white part of the eye).
The lower lashes are shorter and less lush, but are also drawn from the center of the eye to the edges.


And, voila! We have our eyes! In addition to these simple steps to draw a face, we recommend that you read how to draw a face step by step.
how to draw a face step by step
and how to draw eyes step by step.
Do all eye drawings have the same steps?
No, it will depend a lot on the position of the eye, the shape, if it’s more or less almond-shaped (like anime eyes)… Learning to draw is one of the most complex practices that exist in the art world, but, with the right knowledge and work, you will manage to master it.
Now all that remains is to start practicing. We recommend that you start with simple practices and gradually increase the level of complexity of the exercises. Remember that practice makes perfect, and with perseverance and perseverance, you can achieve the results you set out to achieve.
How to Draw Animals Step by Step
For this purpose, we propose a series of exercises, from less to more complex, that will help you to acquire practice and improve your results. Click here and we will explain how to make each of them step by step:
- How to draw a dolphin step by step
- How to draw a rabbit step by step
- How to draw a shark step by step
- How to draw a bird step by step
- How to draw a frog step by step
- How to draw a dog step by step
- How to draw a dinosaur step by step
- How to draw a horse step by step
Drawing is one of the most complex practices that exist in the art world, but with the right knowledge and work, you will be able to master it.
To learn to draw like a professional, in a gradual way and adapted to your pace and time availability, we recommend you visit our Painting and Drawing Courses, where we teach you all the concepts, drawing techniques and materials for you to become a true artist, finding and developing your own style and getting to where you want to be.