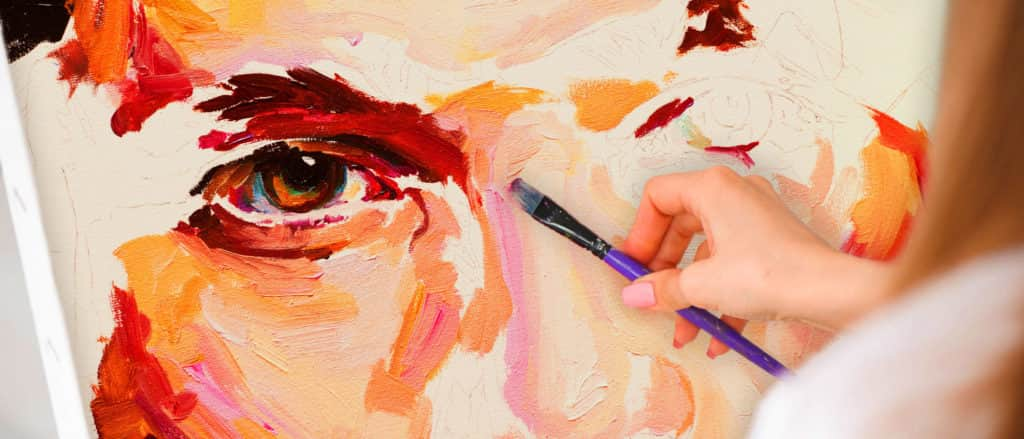
Hello, artenautas! We bring you a new article of our category “Learning to draw is easy”. We want to show you once again that an artist is not born: he/she is made. And it is done by knowing the necessary drawing techniques, with practice and willingness to learn.
At the end of this entry we propose a series of exercises, ordered from the lowest to the highest level of difficulty, in which we explain how to achieve results step by step with other animals.
In this opportunity we want to teach you how to draw animals in 4 easy steps. Ready? Let’s go for it.
Before starting to draw animals
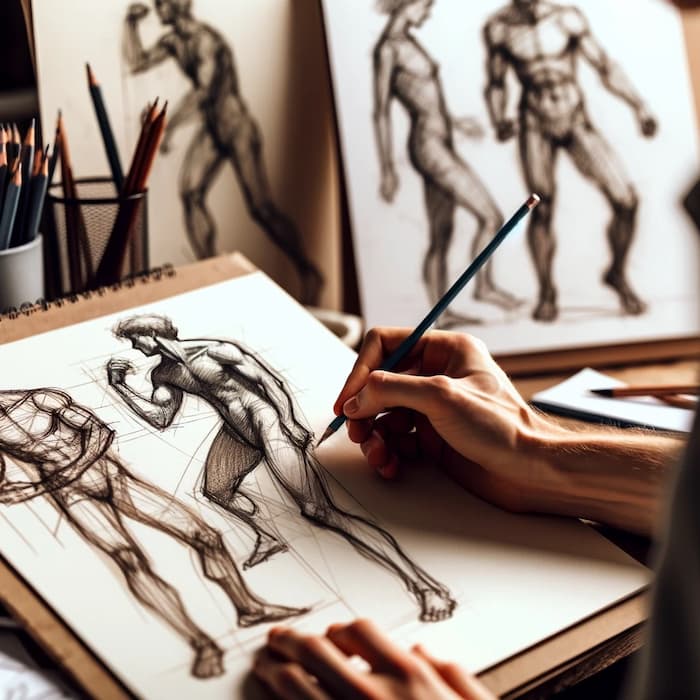
When working with living beings, whether you are drawing animals, portraits of people or even drawing hands, the first thing you should do is to study the anatomy of what you are going to draw, to be able to deconstruct it into more basic and less complex shapes.
Also, in the animal world, you should spend some time trying to understand the movements and attitude of each species to achieve coherence in the drawing, posture and intention and achieve realistic animal drawings (if this is your goal).
Drawing mammal animals
The first thing to keep in mind is that most four-legged mammals have very similar characteristics; for example, a deer and a dog.
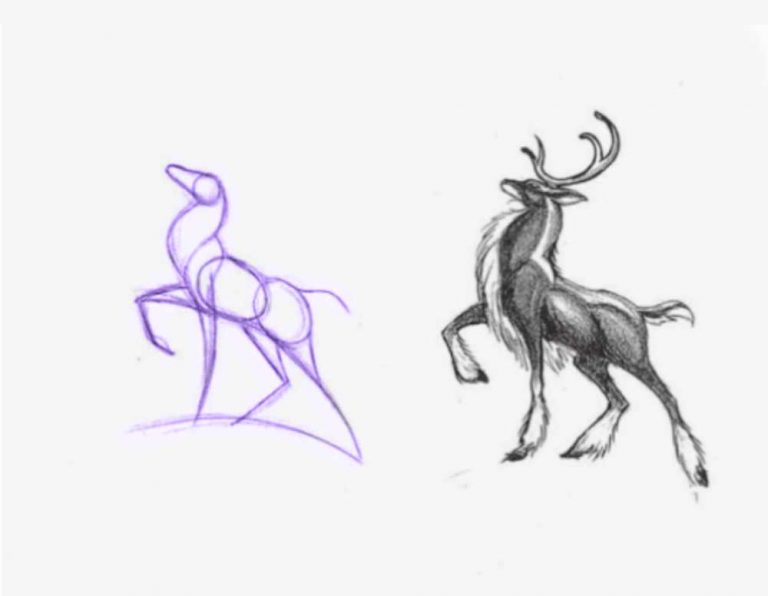
However, the proportions of their limbs, the volume of the trochus or some details vary greatly: ears, hooves, claws, fur…
That is why we insist so much that we must make a deep study of each animal before drawing it, although we will give you a series of steps to facilitate the task.
This time we will show you step by step how to draw a cat.
Step by step to draw a cat
As you can guess from the introduction, the first step before drawing is to study the cat’s anatomy: conk their movements, how to reflect their expressions, postures… And look for a reference image with the attitude and position you need.
Once you have in mind what you want to express, it’s time to start drawing…
The next step will be to deconstruct the animal into simple geometric shapes, such as circles, rectangles, triangles…
In this example, we will draw a cat sitting half-sideways. You can study the anatomy of cats to achieve other positions and expressions.
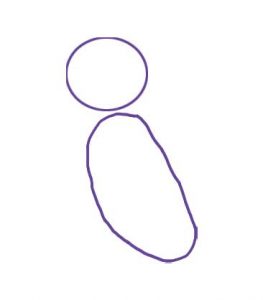
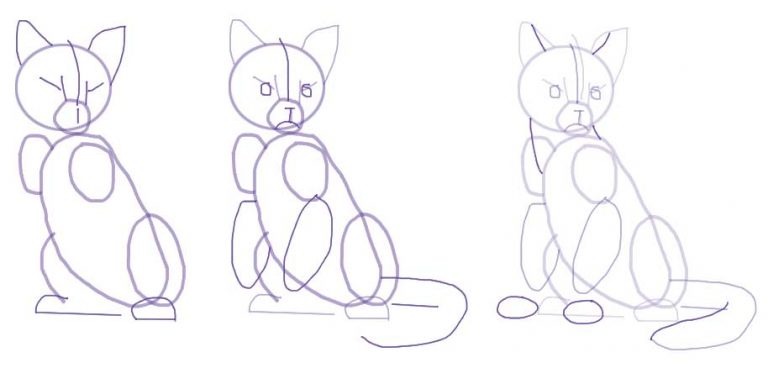
Step 1: Draw the body and head
If you notice, the cat’s body can be roughly summarized with an oval and the head with a circle. Draw these two shapes with the right separation and you will have the base of the trunk for your animal drawing.
Discover a “free online drawing class” from the module on line and lace of our online drawing and painting course.
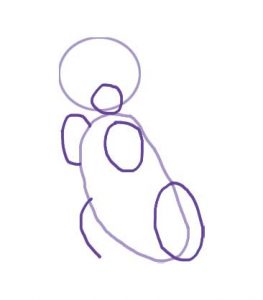
Step 2: Add joints and muzzle
It’s time to make more shapes, in this case, the place where the legs come out and where you will place the animal’s snout. It is important to pay attention to the anchor points from which the limbs start.
For the legs, make 4 ovals. For the two hind legs use larger ovals. It is not necessary to make a complete oval for the bottommost leg, since you will cover it with one of the previous legs.
Step 3: Start drawing details
Now it’s time to place the eyes, ears, legs… Remember we mentioned that some animals had similar characteristics? For example, its legs are divided into three distinct sections, and all four flex in the same directions as human arms, which is the opposite of human legs.
In this step, our cat may resemble other animals, for example, a fox. This is why you should reflect more details.
Step 4: It can still look like another animal
To make it look like a cat, you should place the important details, such as whiskers, the shape of the eyes or pupils and represent the fur typical of cats.
Do not lose sight of important aspects such as the size of the ears, the shape of the tail and the width and direction of the neck.
Once you are satisfied with the details, it is time to outline the most important contours. You can leave the guide lines very faint to add more to your work or remove them later.
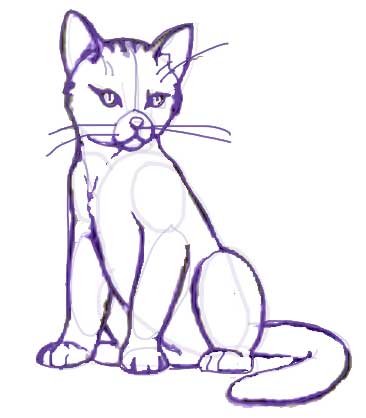
As you will see, drawing animals has a lot to do with studying their anatomy, although it helps a lot to learn how to deconstruct them into easier basic shapes.
You will always have to take care to respect the size proportions between these shapes and watch where you place them, but you will already be taking a very important step towards being able to represent almost any animal.
Drawing Animals Step by Step
For this purpose, we propose a series of exercises, from less to more complex, that will help you to acquire practice and improve your results. Click here and we will explain how to make each of them step by step:
- How to draw a dolphin step by step
- How to draw a rabbit step by step
- How to draw a shark step by step
- How to draw a bird step by step
- How to draw a frog step by step
- How to draw a dog step by step
- How to draw a dinosaur step by step
- How to draw a horse step by step
Drawing is one of the most complex practices that exist in the art world, but with the right knowledge and work, you will be able to master it.
For learn how to draw people like a professional, in a gradual way and adapted to your rhythm and time availability, we recommend you to visit our Painting and Drawing Coursewhere we teach you all the concepts, drawing techniques and materials for you to become a true artist, finding and developing your own style and getting to where you propose.
Now all that remains is to start practicing. Remember that practice makes perfect, and with practice and perseverance, you can achieve the results you set out to achieve.

