Hello, artenauta! Would you like to learn how to draw a face step by step? In this post we give you the keys so that you can do it.
At the end of this post we propose a series of exercises, ordered from lower to higher level of difficulty, in which we explain you how to draw animals step by step.
Although portraiture is one of the most complex disciplines within drawing and painting, today we will give you a series of simple steps so that, with a lot of practice and perseverance, you can achieve the resemblance of your work with the model you have chosen.
Tips to keep in mind before starting
- In case you are going to draw the face of a specific person, don’t get discouraged if you are not able to achieve the resemblance. You will get it with a lot of practice.
- “Measurements are everything”: a deviation of millimeters in certain areas of the face may mean that our drawing does not resemble the chosen model.
- If we see that we are deviating from the result, we correct and start again. Patience is very important.
- As always, observation is fundamental: each face is a world unto itself. The more we know the person, the easier it will be to get the resemblance.
Drawing a face step by step
Bearing in mind that proportions and measurements are fundamental when drawing a face, we show you how to do it step by step:
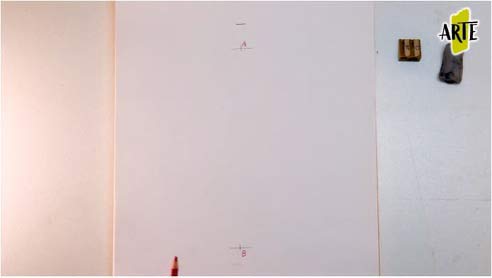
1. Draw two points
We draw two points, A and B, which mark the beginning and the end of our face, from the chin to the hairline.
2. Find the middle ground
We look for the midpoint between A and B, which will be point C (leaving a little more margin between the midpoint and A, since we need more space to add the hair later), to draw our horizontal axis.
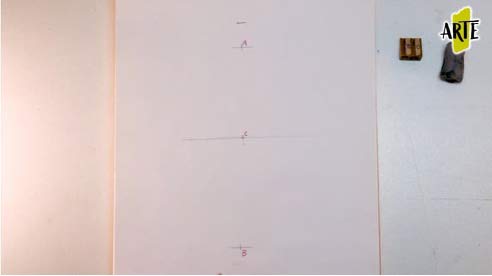
Plot the horizontal axis
We take the measurement between C and B to transfer it to the horizontal axis.
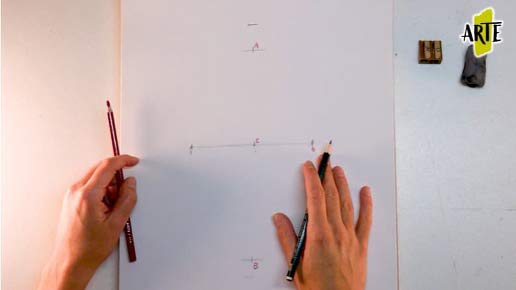
4. Locate the lower part of the nose
We look for point D, between C and B, which will correspond to the lower part of the nose.
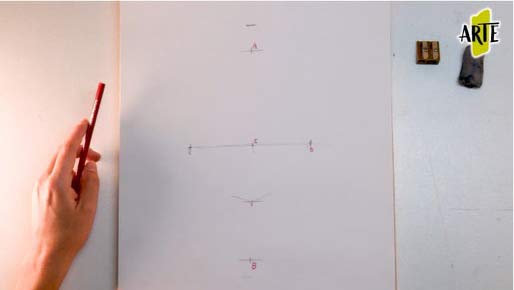
5. Locate the lower lip
We mark the midpoint between D and B, which will coincide with the lower lip.
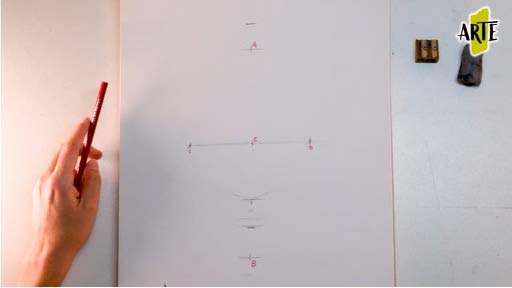
6. Delimit the eye space
We divide the horizontal axis (C-B) into three parts, to delimit the eye space.
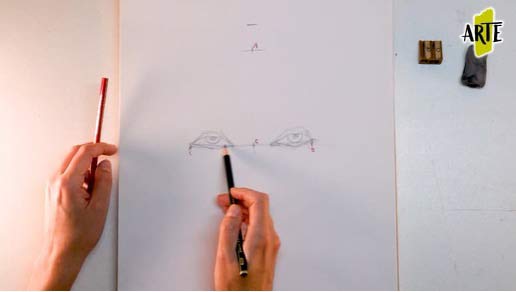
7. Draw the nose
We join with a line the tear trough of each eye until we find the flap of the nose, establishing the septum and the bridge, leaving a space between the tear troughs and the beginning of the nose.
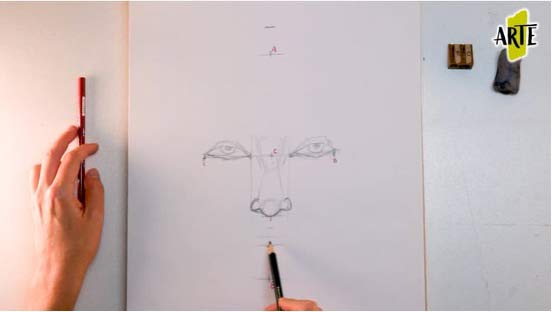
8. Draw the mouth
If in point 5 we marked the lower part of the mouth, now we are going to draw lines from the center to the side of the iris, to delimit the corners of the lips.
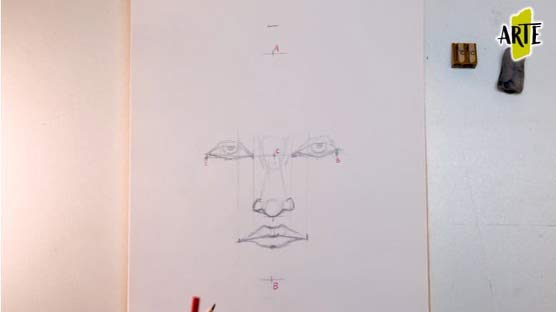
9. Draw eyebrows
We move up the distance from the tear trough to the center of the nose (using our fingers as a compass, for example) to mark the beginning of the eyebrow.
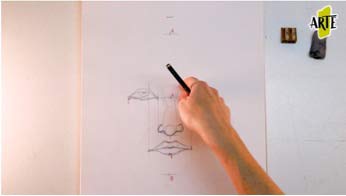
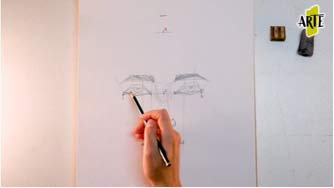
10. Draw the contour of the face
We move the measurement between the tear trough and the center of the face to the sides, to define the facial oval (entering a little in the area of the temples and exiting at the cheekbones).
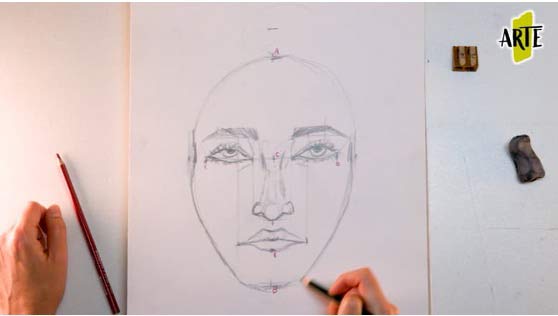
11. Add the finishing touches
We add the hair and the ears (which are usually found between the eyebrows and some point between the nose and the lip).
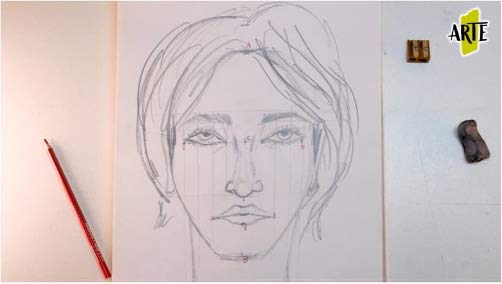
And, voila! We have our face! In addition to these simple steps to draw a face, we recommend that you read how to draw a face.
draw a nose step by step
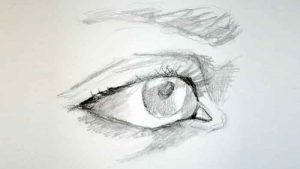
y how to draw eyes step by step.
Now all that remains is to start practicing. We recommend that you start with simple practices and gradually increase the level of complexity of the exercises. Remember that practice makes perfect, and with perseverance and perseverance, you can achieve the results you set out to achieve.
How to Draw Animals Step by Step
For this purpose, we propose a series of exercises, from less to more complex, that will help you to acquire practice and improve your results. Click here and we will explain how to make each of them step by step:
- How to draw a dolphin step by step
- How to draw a rabbit step by step
- How to draw a shark step by step
- How to draw a bird step by step
- How to draw a frog step by step
- How to draw a dog step by step
- How to draw a dinosaur step by step
- How to draw a horse step by step
Drawing is one of the most complex practices that exist in the art world, but with the right knowledge and work, you will be able to master it.
For learn how to draw people like a professional, in a gradual way and adapted to your rhythm and time availability, we recommend you to visit our Painting and Drawing Course where we teach you all the concepts, drawing techniques and materials for you to become a true artist, finding and developing your own style and getting to where you propose.

