Hello, Artenauta!
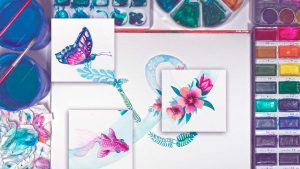
Flowers and vegetation in general is a subject that lends itself to very fresh and loose results with watercolor and it is also perfect to get started in it and be taking fluency with this special painting.
That is why today we are going to propose a simple watercolor exercise for beginners that will surely give you good results, and the more you practice it, the more confidence you will gain with watercolor and its handling.
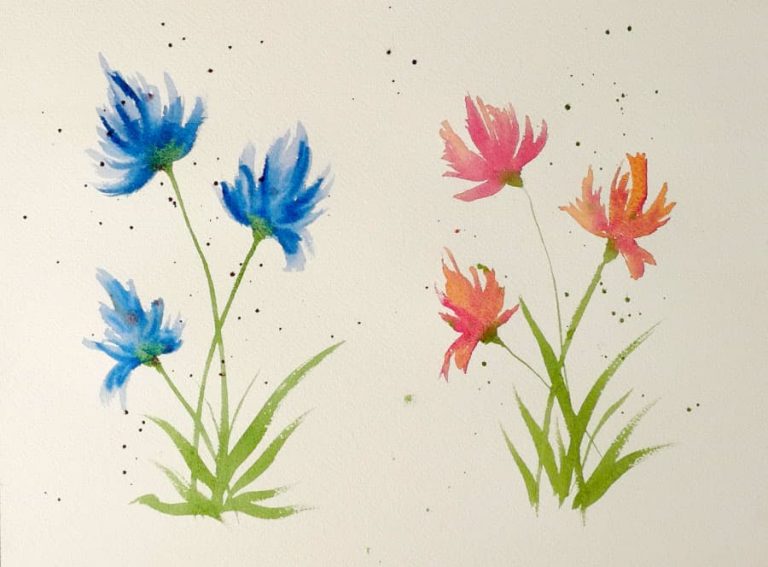
We are going to paint some flowers and to train and learn to control the brushstroke.
STEP 1 – APPLY THE BASE BRUSH STROKES OF THE FLOWER COLOR
In our case, and so that we can use the paper more easily, we are going to create different flowers on both sides.
As always, we must first prepare the paint in the color palette. In this case, we will prepare a rather watery soft reddish base with the consistency of a light tea, a more powerful and more pigmented carmine with the consistency of a loaded coffee and a rather pigmented olive type broken green, also quite pigmented, like the carmine.
We will work on dry paper, and, as we are not going to use much water on this occasion, we will not need to tension the paper beforehand because we are not going to moisten it.
With a medium round synthetic brush loaded with paint, we will apply the first brushstrokes in an upward curved shape and in groups, creating the basic shape of the flower.
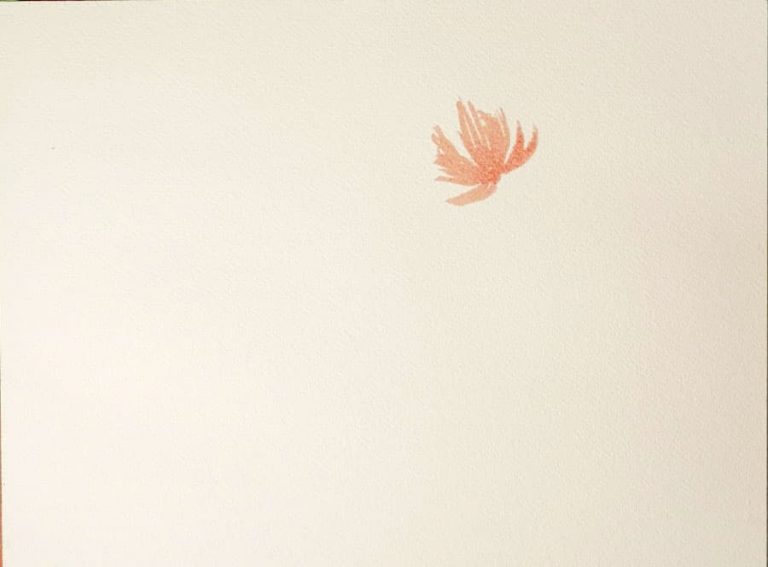
We will create others close to it, a little different. All with the same tone, which will become lighter as it dries. But in our case, we want the paint to be still wet when we apply the next layer on top with carmine, so we will have to work a little fast or, if we prefer, we can work flower by flower in different steps separately.
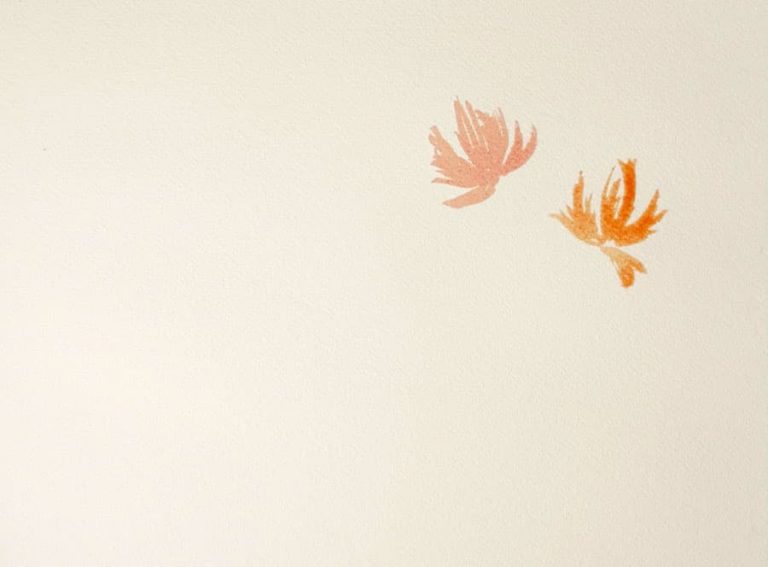
STEP 2 – APPLY MORE VIBRANT COLOR BRUSH STROKES ON TOP ON WET
Now, and while the paint is still wet but not in puddle, we apply a few small and thin loose brushstrokes on what has already been painted with the carmine tone of the most loaded paint. We will see how the two tones blend together. We should not overuse this tone and cover what we already had painted, but we will add small, very fine brushstrokes in an anecdotal way.
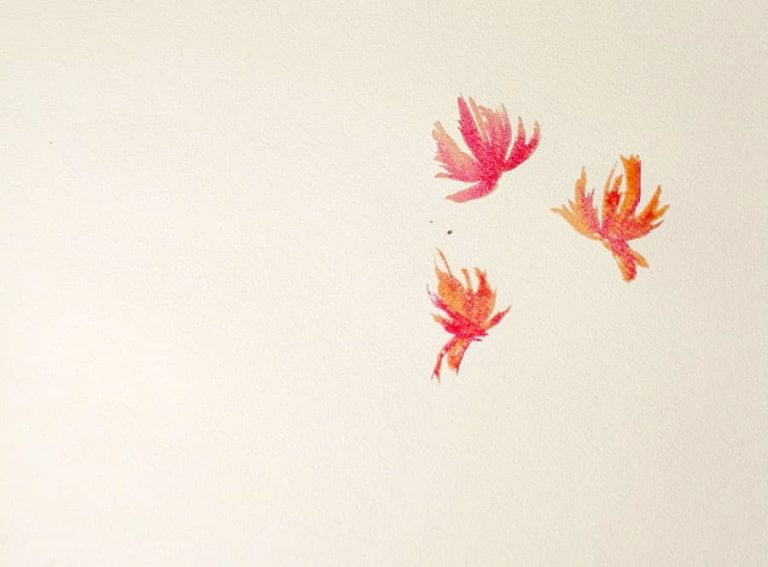
STEP 3 – WE PAINT THE STEMS
Now it is the turn of the stems. We will continue to use the synthetic round brush with a sharp tip, and, if not, we can use a rigger brush, which is used for very fine lines.
In this other post we told you which were the most useful brushes that a watercolorist should have, in case it helps you.
We will create very fine stems, brushing very lightly with the tip of the sharp brush on the paper and with a certain speed, and if we need it we will be able to help us with a tiento or rod to support us and to maintain the pulse.
As the flower area will still be in the process of drying, we will see how the inverted triangle with which we created the union between stem and flower fades slightly between the colored body of the flower. This will create a nice effect.
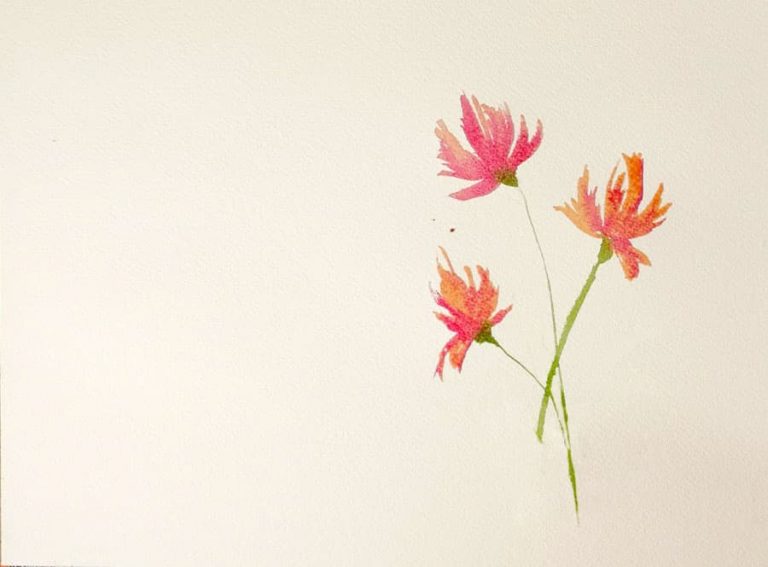
STEP 4 – PAINT SOME GRASSES OR LEAVES ON THE BASE
With the same medium round synthetic brush with a sharp tip we can create single brushstroke sheets by pressing harder at the beginning of the brushstroke and loosening the pressure as we move towards the tip. We can also use a sabre brush or one with a curved belly. It is important that the brushstrokes remain loose, so we cannot be too slow in their execution!
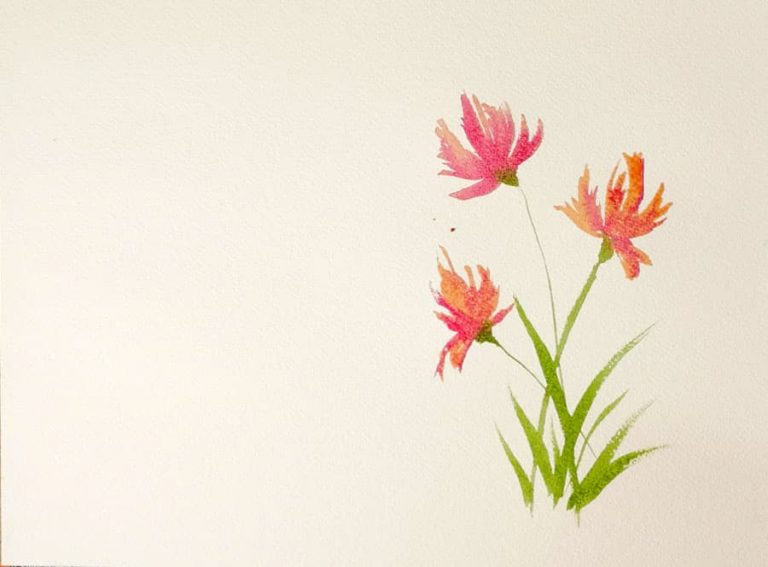
STEP 5 – WE THROW SOME SMALL DROPLETS WITH GREENISH TONES
To create a more vibrant effect, we will splash a few small drops with the brush quite loaded, helping us with the handle of another brush, tapping on it or tapping with the finger on the ferrule area of the brush.
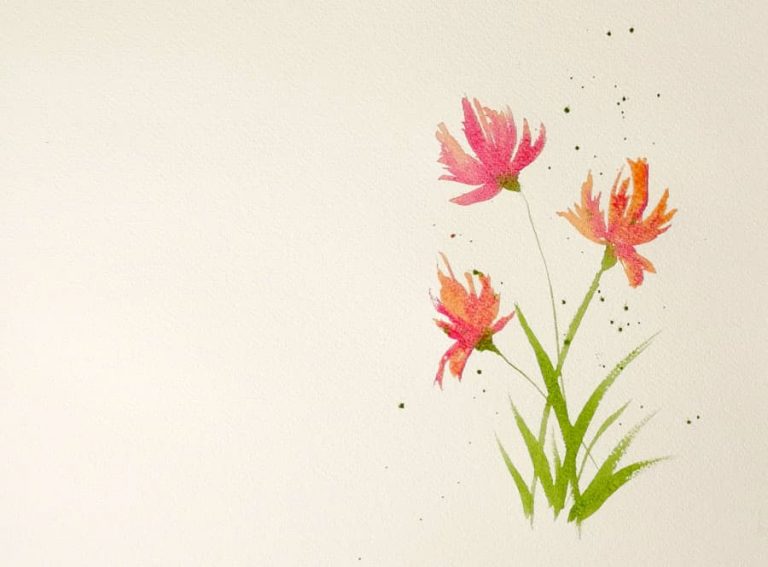
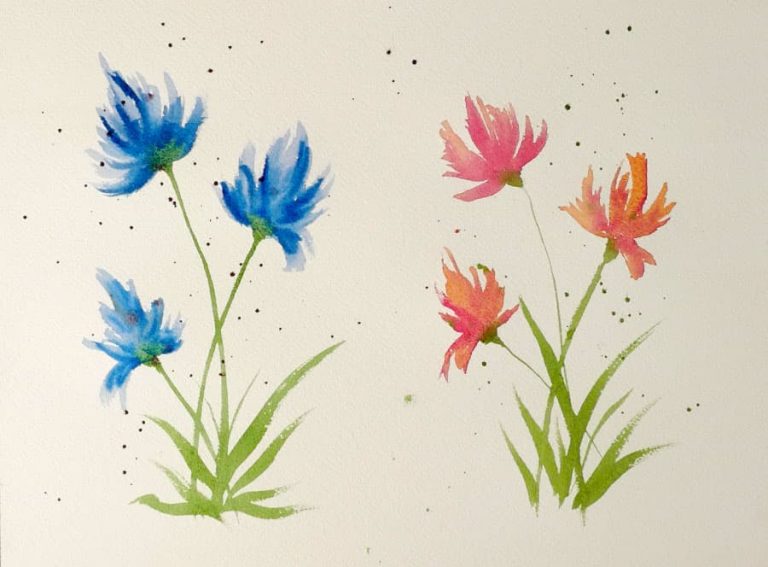
You can create flowers of various shades following the same scheme or try to create different compositions with this type of flowers to practice them. The more you make, the better they will start to come out. With watercolor you have to practice a lot at the beginning, but we are sure that in some of them you will obtain results that will encourage you to continue learning.
Watercolor is a type of painting that, being water-based, is very unpredictable. Therefore, if we want to obtain good results when painting with watercolor, it is essential to know some keys about its use before approaching it.
In ArteEscuela’ s specialized watercolor workshops we teach you everything you need to know to start from scratch and end up working with watercolor like a professional. You will learn how to use all the watercolor techniques and basic materials.
How to Draw Animals Step by Step
For this purpose, we propose a series of exercises, from less to more complex, that will help you to acquire practice and improve your results. Click here and we will explain how to make each of them step by step:
- How to draw a dolphin step by step
- How to draw a rabbit step by step
- How to draw a shark step by step
- How to draw a bird step by step
- How to draw a frog step by step
- How to draw a dog step by step
- How to draw a dinosaur step by step
- How to draw a horse step by step
For learn to paintin a gradual way and adapted to your pace and time availability, we recommend that you visit our Painting and Drawing Course where we teach you all the concepts, drawing techniques and materials for you to become a true artist, finding and developing your own style and getting to where you propose.
Join our Artenautas community!

