Introduction to Pastel Chalk Drawing
The art of drawing with pastel chalks has gained popularity for its ability to create soft and rich color effects. Throughout this guide, we will explore how to draw with pastel colors step by step, offering practical tips for beginners and intermediate artists. We will focus on essential techniques, material selection and methods to preserve your art.
a. What are Pastel Chalks?
Pastel chalks are pure pigment sticks mixed with a minimum of binder, which gives them their characteristic soft, powdery texture. Perfect for blending and layering colors, pastel chalks offer a dynamic range of artistic expression.
b. Materials Needed
Before you start drawing with pastel chalks step by step, you will need:
- Pastel chalks: soft and/or hard, according to the desired technique.
- Pastel paper: with good texture and weight to support several layers.
- Fixative: to protect your finished works.
- Mixing tools: such as tortillones or your fingers.

Step by Step to Drawing with Pastel Chalks
Below, we break down the process of creating a pastel drawing into clear and concise steps.
- Preparation of the Workspace: Be sure to work in a well-ventilated area and protect your work surface with newspaper or a cloth. Cleanliness is crucial when working with pastel chalks due to their powdery nature.
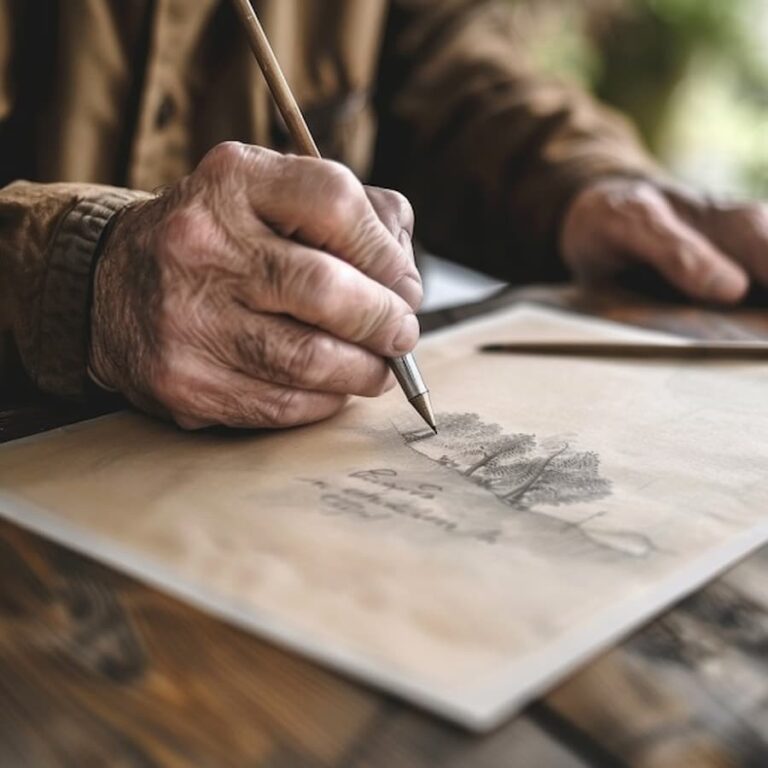
- Initial Sketch: Use a soft pencil to lightly sketch your composition on the pastel paper. This sketch will serve as a guide without mastering the pastel colors that you will apply later.
- Color application: Start by applying light colors, progressing to darker tones. Use the sides of the chalks to cover larger areas and the pointed ends for fine details.
- Color Mixing and Overlapping:With your fingers, a soft cloth or a tortillon, mix the colors directly on the paper to create smooth gradations and color transitions. Overlapping is key in drawing pastel colors.
- Refinement of Details and Contrasts: Add fine details and adjust contrasts where necessary. You can use hard pastel chalks for precise lines and details.
Fixing the Drawing:
Once satisfied with the result, apply a spray fixative from a suitable distance to prevent the pastel from running or fading.
Tips for Improving in Pastel Chalk Drawing
- Experiment with Different Surfaces: Don’t limit yourself to pastel paper; experiment with surfaces such as wood or canvas for unique effects.
Keep Your Chalks Organized:
Organizing your chalks by color and shade can speed up your work process and help you maintain harmony in your drawings.- Regular Practice: As in any art form, constant practice is essential. Take time each week to explore new techniques and topics.

Care and Preservation of Pastel Chalk Drawings
Use Appropriate Fixatives:
Choose a quality fixative to protect your artwork from wear and fading.
Proper Storage:
Store your drawings in a dry, dark place, preferably between sheets of acid-free paper to prevent them from sticking or smudging.
This article provides a comprehensive step-by-step guide to drawing with pastel chalks, with practical tips and strategies for each stage of the artistic process. Explore, experiment and above all, enjoy the creative process when using this vibrant and expressive art form.
To learn how to work with pastel like a real professional, knowing all its characteristics, use of materials and how to get the most out of this technique, visit our Painting Course with Lifetime Access + Workshops.
FAQ:
- How can I start drawing with pastel chalks step by step?
Start with a soft sketch, apply light colors first and increase the intensity gradually. Blend carefully to smooth edges and add depth. - What paper is best for drawing with pastel chalks step by step?
Choose a textured paper with a good weight to withstand multiple layers of cake without deteriorating. - Is it necessary to use fixative on every pastel drawing?
Yes, the fixative helps preserve the color and prevents the cake from smudging or smearing. - How can I prevent my pastel drawing from getting dirty?
Always work with clean hands and apply the fixative properly. Keep your works between acid-free papers. - Can I draw with pastel chalks step by step without previous experience?
Yes, the pies are ideal for beginners because of their ease of use and the possibility of corrections. - What are the common mistakes when drawing with pastel colors?
Applying too much pressure, not using a varied range of colors, and forgetting the importance of blending are common mistakes. - How can I make the colors in my pastel drawing more vibrant?
Use pure primary colors and work in layers, applying the darker tones after the lighter ones. - Where can I learn more techniques for drawing with pastel chalks step by step?
Look for online workshops, video tutorials and books dedicated to pastel. - What should I do if my pastel drawing doesn’t look right?
Don’t be afraid to overlay more layers or use a soft eraser to adjust colors and shapes. - How long does it take to master drawing with pastel chalks?
It depends on the frequency of practice, but with regular dedication, you will see significant improvements in a short time.