Drawing is a skill that can be developed and perfected with constant practice. Many times, lack of time is a barrier for those who want to improve their drawing skills. In this article, we will explore how to improve your drawing skills in a few minutes with simple and effective techniques that you can incorporate into your daily routine.
The Importance of Drawing Every Day
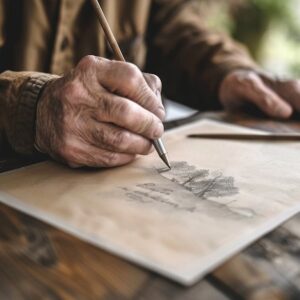
Drawing every day, even if it’s just for a few minutes, can have a significant impact on your skills. Here’s why:
Creating the Habit of Drawing
Daily practice is essential to improve any skill, and drawing is no exception. Dedicating a few minutes a day to drawing helps:
- Develop muscle memory: Your hands and eyes get used to working together, which improves precision and control.
- Stimulate creativity: Drawing every day pushes you to think creatively and experiment with different styles and techniques.
- Improve observation: Over time, you will learn to see the world with the eyes of an artist, noticing details that previously went unnoticed.
Establishing a Drawing Routine
To make the most of those daily minutes, it is useful to establish a routine:
- Find a specific time of day: It can be when you wake up, during your coffee break or before bedtime.
- Choose a comfortable space: A quiet, well-lit place will allow you to concentrate better.
- Keep your materials handy: A quality sketchbook and pencils will make the process easier.

Quick Techniques to Improve Your Drawing Skills
There are several techniques that you can practice in a few minutes that will help you improve your drawing skills.
Quick Drawings (Sketching)
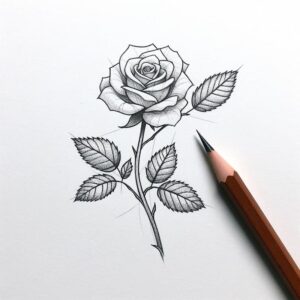
Sketching is a technique that involves making quick, loose drawings, capturing the essence of an object or scene in a few strokes. This technique helps to:
- Improve fluency and confidence: By drawing quickly, you reduce the pressure to make a perfect drawing.
- Increase speed: With practice, you will be able to draw faster without sacrificing quality.
- Explore different ideas: You can try different approaches and styles without spending too much time on each.
Blind Contours
Blind contour drawing is a technique where you draw an object without looking at the paper. This exercise improves your hand-eye coordination and your observation skills. To practice it:
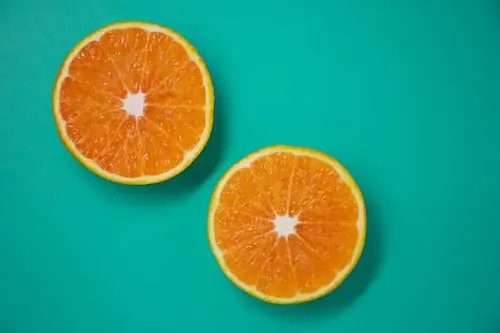
- Choose a simple object: It can be a fruit, a cup or your hand.
- Look at the object closely: Notice the contours and details.
- Draw without looking at the paper: Try to capture the shape and details of the object with your eyes only.
Gesture Studies
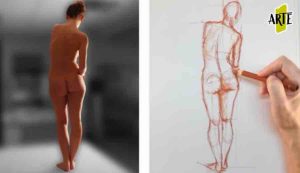
Gesture studies are quick drawings that capture the action and movement of a figure. This technique is especially useful for drawing human figures. To practice:
- Observe a person in motion: It can be someone walking, running or doing any activity.
- Quickly draw lines of action: Try to capture movement and posture in a few strokes.
- Focus on fluidity and energy: Don’t worry about details; the important thing is to capture the dynamism of the figure.
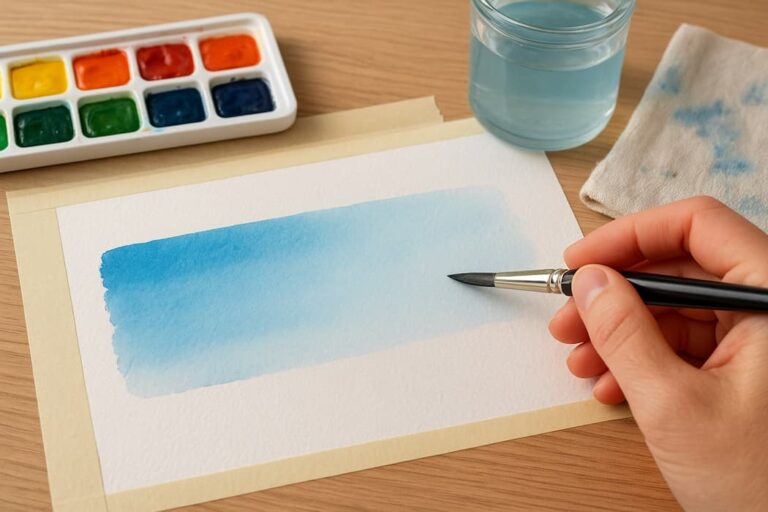
Quality Drawing Materials
Having good drawing materials can make a big difference in your progress.
Pencils and Graphites
Graphite pencils are essential for any draftsman.
Sketchbooks
A good sketchbook is indispensable for daily practice.
Additional Accessories
In addition to pencils and notebooks, it is useful to have other accessories on hand such as:
- Precision erasers: To correct details without damaging the paper.
- Quality sharpener: To keep your pencils always ready to use.
- Blender stumps: For blurring shadows and creating smooth transitions.

Tips to Maintain Motivation
It’s normal to sometimes feel unmotivated or creatively blocked. Here are some tips to keep you inspired:
Seeking Inspiration
Observe the work of other artists, visit museums or explore nature. Inspiration can come from anywhere and help you see the world from a new perspective.
Join a Community
Participating in a community of artists can be very motivating. You can share your work, receive feedback and learn from others. At ArteEscuela, we foster a community where artists can connect and grow together.
Set Realistic Goals
Set short and long term goals for your drawing practice. They can be as simple as drawing something every day or completing a specific project.
In conclusion, improving your drawing skills in a few minutes a day is possible with constant practice, proper techniques and quality learning methods, like those of ArteEscuela. Start today and see how you progress day by day!
To learn to draw like a professional, in a gradual way and adapted to your pace and time availability, we recommend you to visit our Course of Painting and Drawingwhere we teach you all the concepts, drawing techniques and materials for you to become a true artist, finding and developing your own style and getting to where you propose.