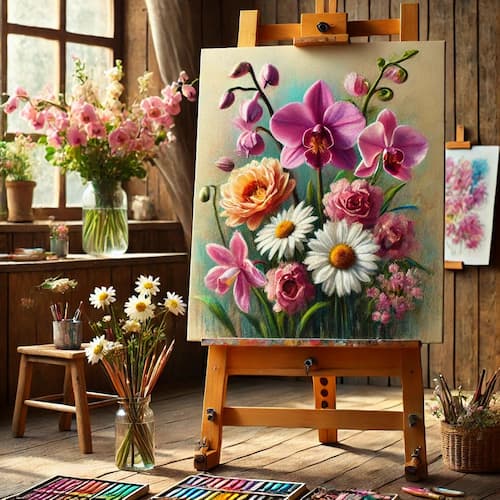
Pastel painting is one of the most versatile and expressive artistic techniques.
In this article, we will explore the basics of pastel painting, from the choice of materials to the essential techniques for mastering this art.
Introduction to Pastel Painting
Pastels, known for their vibrant range of colors and textures, offer a unique experience for artists.
Unlike other mediums such as oil or watercolor, pastel combines the qualities of drawing and painting in a compact and accessible form.
But what makes pastel so special?
What are Pasteles?
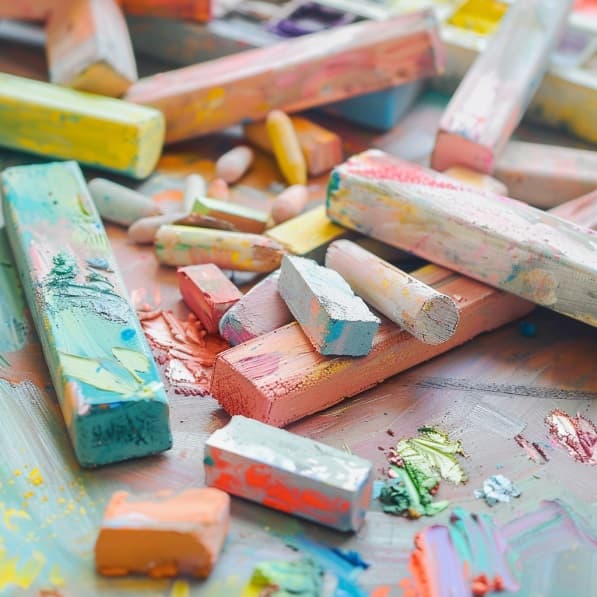
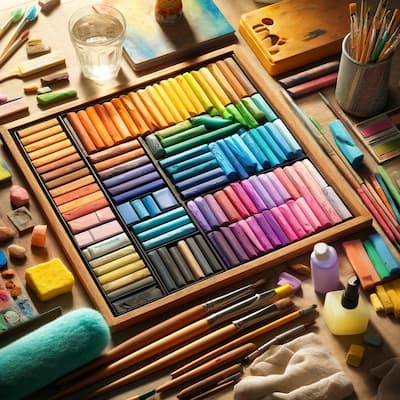
Pastels are sticks of dry pigment that are mixed with a binder to hold their shape.
There are three main types of pastels:
- Dry Pastels: Include soft and hard pastels.
They are ideal for a wide range of techniques due to their ability to blend and blend easily. - Oil Pastels: Contain oils that give them a creamy texture.
They are perfect for thicker and layered effects. - Pastels in Bars: Combine characteristics of dry pastels and oil pastels, offering a balance between fluidity and texture.
Basic Principles of Pastel Painting
The first step in painting with pastels is to understand how the different types of pastels work and how they can be applied to various surfaces.
Materials Needed and Choice of Cakes
- Soft Pastels: They offer a wide variety of vibrant colors and are easy to blend.
However, their soft texture can be a challenge for beginners. - Hard Pastels: They are ideal for details and fine lines due to their firmer consistency.
- Oil Pastels: Provide a more robust finish and are excellent for layering and texturing.
Papers and Supports
The choice of paper is crucial to the success of a pastel painting.
Textured papers allow for better pigment adhesion.
Some of the most recommended include:
- Canson Mi-Teintes paper: Popular for its texture and variety of colors.
- Sand Paper: Offers a rougher texture, ideal for retaining several layers of cake.
- Pastelmat paper: Combines smoothness and texture, providing a unique surface to work on.
Other Materials
- Fixative: Used to fix the pastel and prevent stains.
- Diffusers or Tortillones: Tools for blurring and mixing colors.
- Gloves and Mask: To protect from cake dust.
Pastel Painting Techniques
Once you have your materials, it’s time to explore basic pastel painting techniques.
- Blurring Technique: Blurring is essential for creating smooth transitions and gradient effects.
You can blend with your fingers, a soft cloth, or a blender.
The key is to apply the pastel in light layers and blend to the desired softness. - Layering: The layering technique allows for depth and texture.
Start with lighter colors and work toward darker colors, applying each layer gently to avoid saturating the paper. - Texture Effects: To create texture, you can use techniques such as scratching or rubbing.
Scratching involves scraping off the top layer of pastel to reveal the color underneath.
Rubbing uses tools such as stiff brushes or spatulas to create patterns on the surface. - Color Blending: Color blending in pastels can be achieved in several ways.
One of the most common is to overlap layers of different colors and blend them.
You can also mix directly on the palette before applying to the paper.
Care and Conservation
Caring for your paints and materials is crucial to maintain their quality over time.
- Fixing the Work: Applying a fixative at the end of your work helps protect the pastel from smudging and wear.
Use spray fixatives in a well-ventilated area and with light coats to prevent colors from bleeding. - Storage: Store your paints in protective folders or frames with glass to avoid direct contact with the surface.
Upright storage is ideal to prevent pastel dust from accumulating. - Material Maintenance: Keep your cakes organized and clean.
You can use a box with compartments and a soft cloth to wipe off dust residue.
Tips and Tricks for Beginners
-Practice Light Hand
Light pressure when applying the pastel allows for smoother layers and better blending possibilities.
Avoid pressing too hard, as this can saturate the paper and make correction difficult.
-Experiment with Textures
Don’t limit yourself to using only your fingers to blend.
Try different tools such as brushes, sponges, and blenders to see how they affect the texture and appearance of the cake.
-Use Color Strategically
Choose complementary colors to create contrast and analogous colors for smooth transitions.
Experiment with color combinations to discover new palettes.
-Learn from the Masters
Look at works by well-known artists who use pastel for inspiration and to learn new techniques.
Looking at how they handle light, color, and texture can offer valuable insights.
-Keep your work area clean.
Cake dust can be harmful if inhaled in large quantities.
Be sure to work in a well-ventilated area and regularly clean your workspace.
Pastel painting offers an exciting opportunity to explore color and texture in a direct and tactile way.
With these basic principles, you’ll be well on your way to mastering this technique and creating vibrant, dynamic works of art.
To learn how to work with pastels like a real professional, knowing all its characteristics, use of materials and how to get the most out of this technique, visit our Painting Course with Lifetime Access + Workshops.

¿Cómo empezar a pintar al pastel con agua?
Antes de comenzar, es importante tener en cuenta los materiales que necesitarás para practicar la pintura pastel al agua y los pasos básicos para dominar la técnica.
Materiales necesarios para pintar al pastel con agua
- Pasteles secos de buena calidad: Puedes usar pasteles blandos o duros, pero asegúrate de que sean de buena calidad para obtener mejores resultados.
- Papel adecuado: Elige un papel que sea resistente al agua, preferiblemente de textura gruesa. Los papeles para acuarela o específicos para pastel son ideales.
- Pinceles de acuarela: Los pinceles suaves, como los de acuarela, te permitirán controlar el agua y los colores de manera efectiva.
- Recipiente con agua: Tendrás que mojar los pinceles y mezclar los colores, por lo que un vaso o recipiente de agua es esencial.
- Toallas o pañuelos de papel: Para limpiar los pinceles y controlar la cantidad de agua.
Pasos para pintar al pastel con agua
Pintar al pastel con agua paso a paso
- Dibuja con pastel seco: Comienza creando un boceto ligero en tu papel usando el pastel seco. No te preocupes si los trazos no son perfectos, ya que el agua los suavizará.
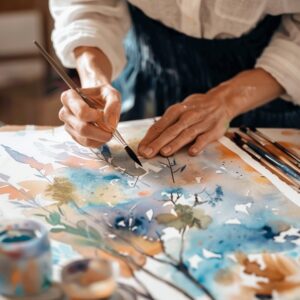
- Añade agua: Con un pincel suave, comienza a aplicar agua sobre el pastel. Trabaja en áreas pequeñas para mantener el control sobre el efecto. Puedes humedecer solo algunas partes del dibujo para lograr un contraste interesante entre áreas húmedas y secas.
- Mezcla los colores: Si deseas crear transiciones suaves entre colores, utiliza un pincel humedecido para mezclar los bordes entre un color y otro. El agua ayudará a difuminar los colores de manera sutil.
- Deja secar: Una vez que estés satisfecho con el resultado, deja que el papel se seque completamente. Recuerda que los colores pueden intensificarse o cambiar ligeramente al secarse.
- Aplica capas adicionales: Si es necesario, puedes añadir más capas de pastel seco una vez que la superficie esté completamente seca. De esta forma, puedes seguir experimentando con detalles y texturas.
Consejos avanzados para perfeccionar la técnica de pintar al pastel con agua
El pintar al pastel con agua es una técnica que permite una gran experimentación. Aquí algunos consejos adicionales para llevar tus obras al siguiente nivel:
Experimenta con diferentes niveles de agua
Puedes ajustar la cantidad de agua para obtener efectos muy distintos. Con poca agua, el resultado será más denso y saturado. Si usas más agua, conseguirás una textura más similar a la acuarela. No dudes en jugar con diferentes cantidades de agua para ver cuál se adapta mejor a tu estilo.
Utiliza diferentes pinceles
Cada pincel te proporcionará un efecto diferente. Un pincel redondo pequeño te permitirá trabajar con detalles finos, mientras que un pincel más grande te ayudará a cubrir áreas extensas con facilidad. ¡Prueba varias opciones!
Combina técnicas
No te limites solo a la pintura pastel al agua. Puedes combinar esta técnica con otros medios como la acuarela o la tinta para añadir más profundidad y variedad a tus obras. Por ejemplo, una capa de tinta puede darle un toque gráfico a un fondo pintado con pasteles al agua.
¿Cuál es la diferencia entre pintar al pastel seco y al pastel con agua?
Aunque ambos métodos utilizan el mismo tipo de pastel seco, la gran diferencia radica en el uso del agua. En el pastel seco tradicional, los trazos y colores se mezclan directamente en el papel, a menudo generando una textura granulosa y vibrante. En cambio, cuando se añade agua, el pastel se convierte en una suerte de pintura líquida, lo que suaviza las transiciones entre colores y crea una superficie más lisa. Esta diferencia permite a los artistas explorar diferentes estilos y enfoques.
Para aprender a trabajar con pastel como un auténtico profesional, conociendo todas sus características, uso de materiales y cómo sacarle el máximo partido a esta técnica, visita nuestro Curso de Pintura con Acceso Vitalicio + Talleres.

